A splicing van is a workshop on wheels. Set up well, it lets a crew spend the day splicing; set up badly, it sends them hunting for a stripper, waiting on a flat battery, or redoing a joint that picked up dust on a cluttered bench. The layout does not need to be expensive or fancy. It needs to match the work the van does most, keep the core kit within arm's reach of the bench, and make restocking a habit instead of an emergency. This checklist covers the three things that decide whether a van works: the splicing station, power and organization, and the consumables that quietly stop jobs when they run out.
Start With the Splicing Station
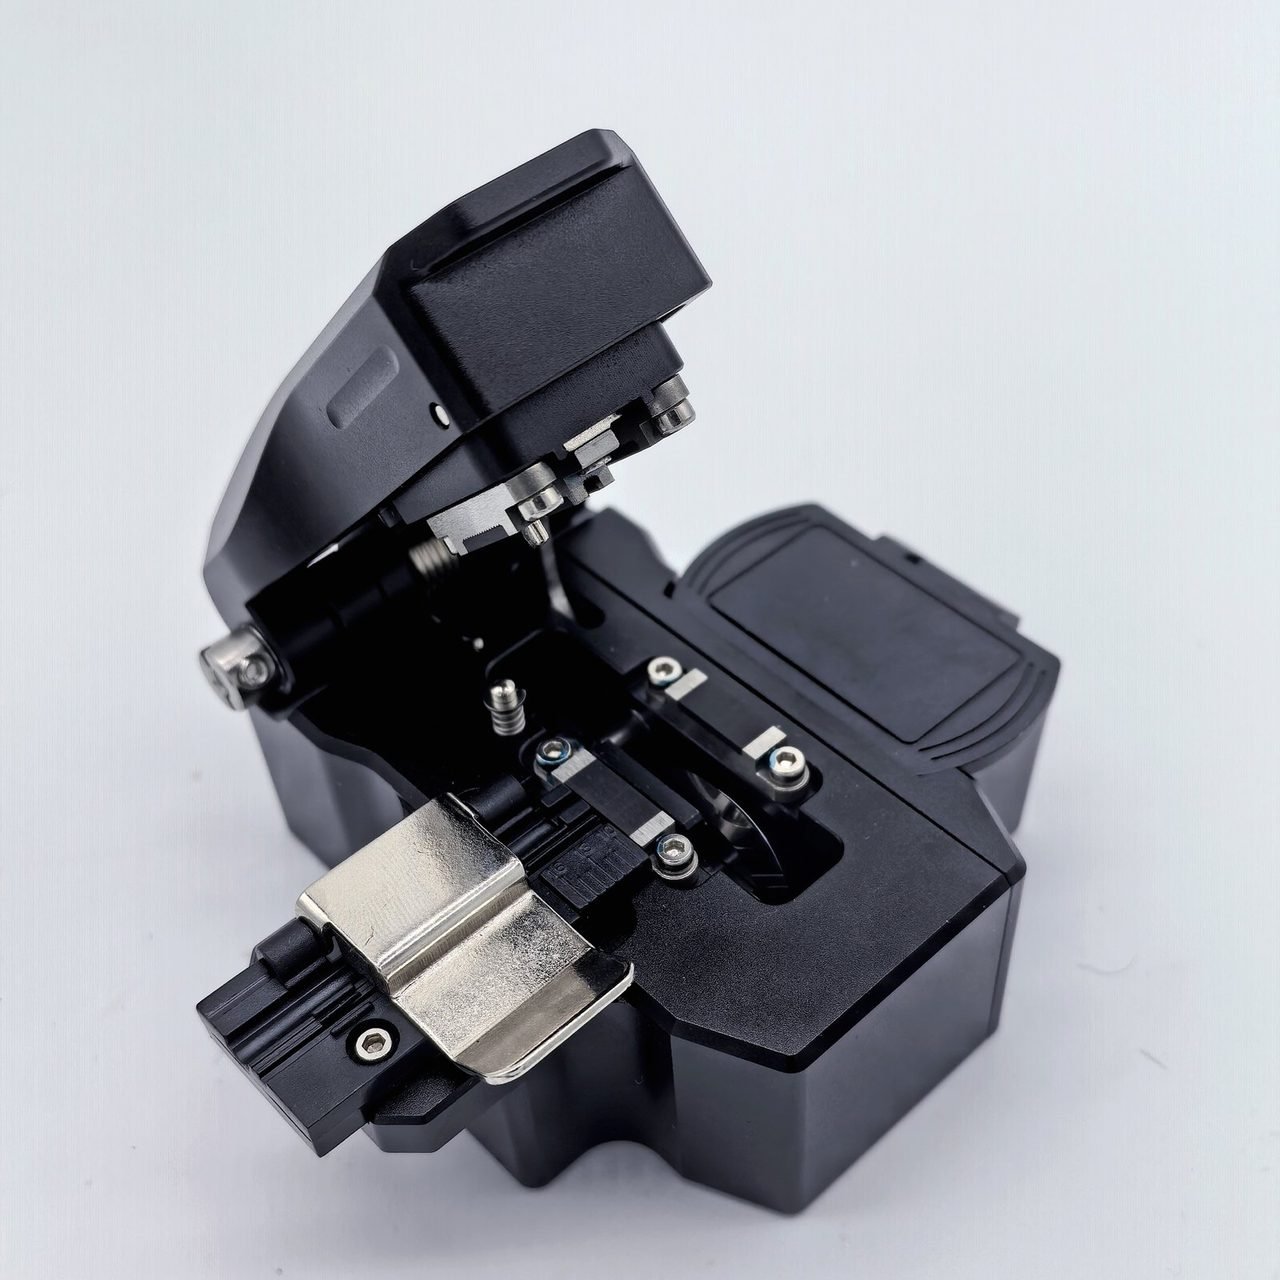
Everything in the van serves one moment: two prepared fibers meeting in the fusion splicer. Build the layout around a fixed work surface where the splicer sits secured against road vibration, and arrange the prep tools in the order they are used — strip, clean, cleave, splice. The fiber travels in a straight line across the bench, and the finished splice goes straight into its tray, never back across the dirty side of the workspace. If the technician has to stand up or turn around in the middle of preparing a fiber, the layout is fighting the job. The bench itself is a short checklist:
- Fusion splicer, cleaver and strippers fixed at the bench, or cased in the same place every time
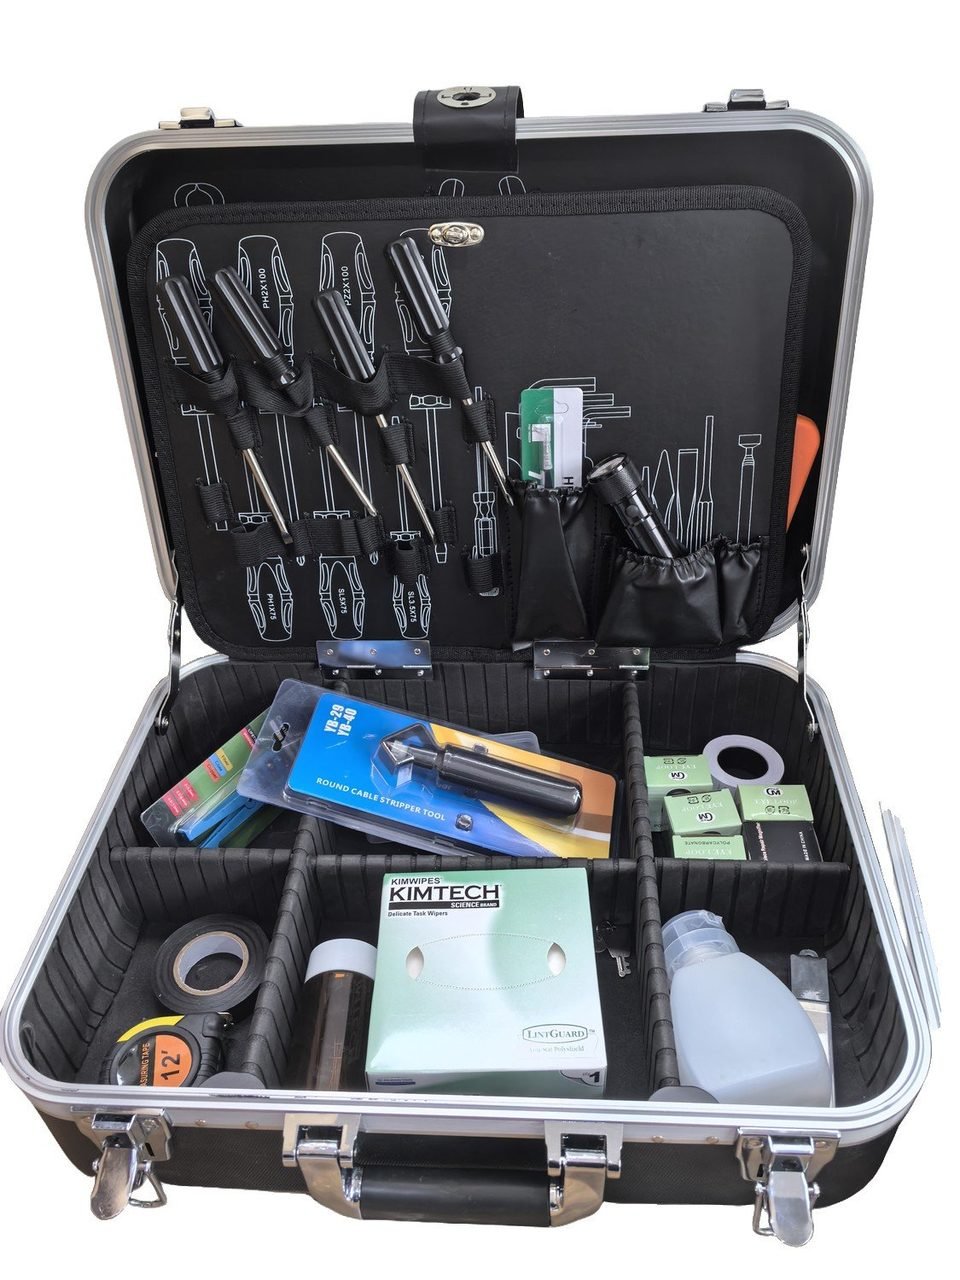
- Cleaning supplies — wipes, solvent and one-click cleaners — at the prep point, not in a box in the cab
- Splice trays and heat-shrink sleeves within arm's reach of the splicer
- A sealed scrap bin for fiber offcuts, emptied on schedule
- Test gear — power meter, visual fault locator, OTDR — stored padded and protected, never underfoot
Power, Light, and a Place for Everything
Field splicing runs on batteries, and batteries choose the worst moment to run flat. Keep splicer batteries on a rotation — one in the machine, one on charge, one ready — with a charger or inverter that can top everything up from the van itself. Lighting deserves the same planning: a bench light that shows the fiber clearly, and a portable work light for closures and cabinets after dark. A dry place to work matters too; a simple canopy or a well-sealed rear door keeps rain and dust off the bench, and off the fiber.
Organization is what makes the layout survive a real work week. Tool kits and cases with a fixed slot for every tool mean a missing cleaver is obvious at a glance, not discovered at the next job. It is the same logic behind standardizing kits across crews: one layout in every van, so any technician can step into any vehicle and start work. Label shelves and boxes by job stage — prep, splice, test, consumables — and even a new crew member learns the van in a day.
Consumables and Spares: The Small Things That Stop Jobs
Vans rarely stop because a splicer breaks. They stop for a missing sleeve, a worn electrode, a dull cleaver blade or an empty box of wipes. Treat consumables as part of the setup, not an afterthought: keep a short stock list inside a door, set a minimum level for sleeves, wipes, cleaning fluid, electrodes and blades, and check it at the end of every job. Cleaning stock deserves a line of its own — a van that splices all day goes through wipes and solvent fast, and the wet-to-dry cleaning routine only works if the supplies are actually on board. Spares live in the van, not back at the depot: a spare battery, a spare cleaver blade, and the small hand tools that tend to walk away.
The end-of-job habit matters more than the initial fit-out. Five minutes to clean the bench, coil the slack, restock the consumables and return every tool to its slot is what makes the next job start on time. A van set up this way is not tidier for its own sake — it is faster, and its splices are more consistent, because the crew repeats the same clean routine at the same bench, job after job.
Outfitting a new van, or standardizing kits across a fleet? We build fiber optic tool kits to order — your pick of tools, in the case that fits your vehicle — and supply the splicers, cleavers and consumables that keep them earning. Send us your list through the quote form or write to silvia@licoom.com for EXW factory pricing on request.