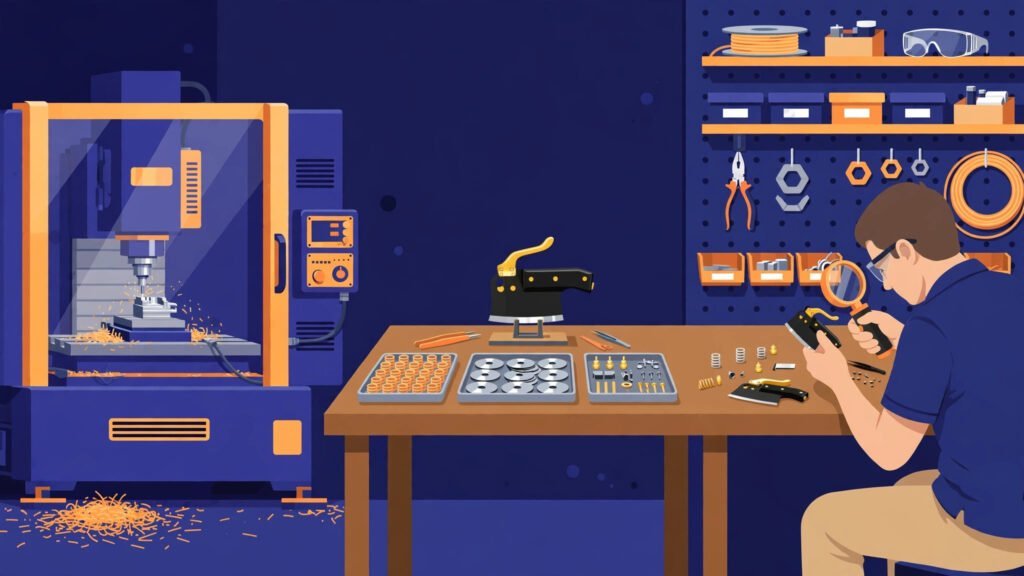
Every fusion splice starts with a cleave. If the fiber end is angled, chipped or rough, no splicer — however good — can fully make up for it: the result is higher splice loss and a joint that may fail inspection. That is why cleaver quality is decided long before the tool reaches a toolbox. It is decided on the machining line and at the assembly bench.
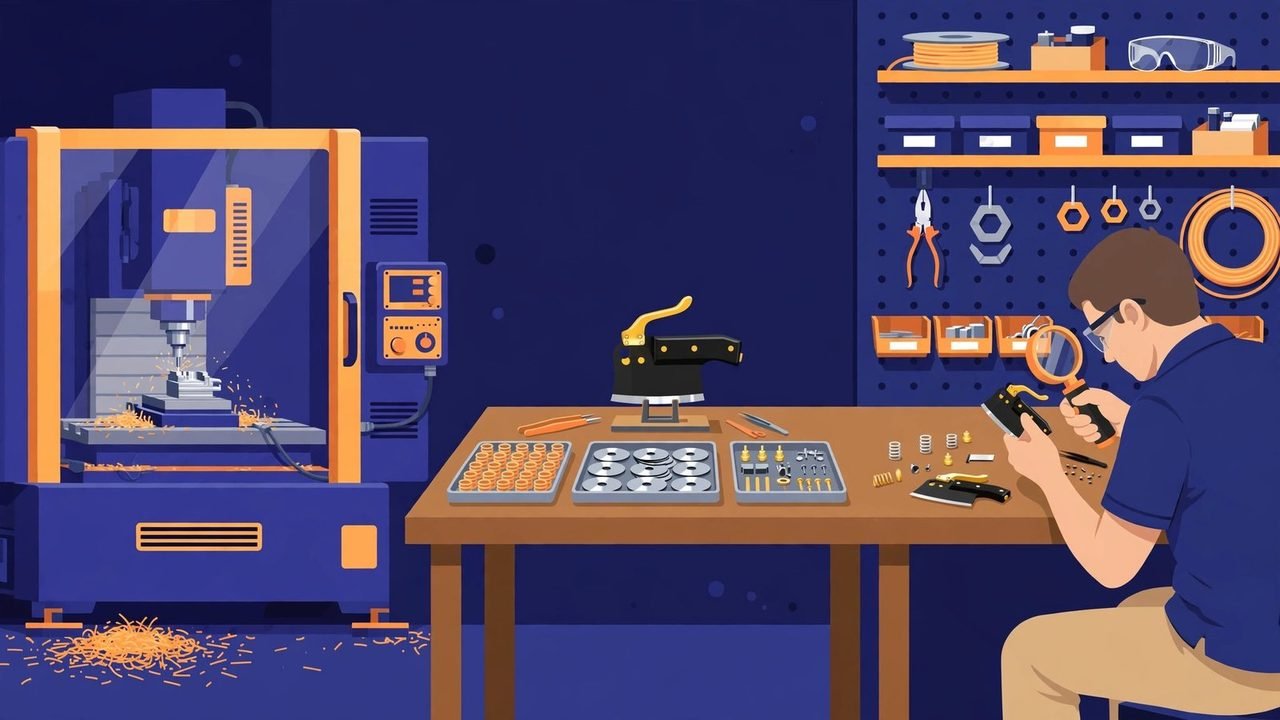
We filmed inside the workshop that produces our cleavers, so buyers can see what they are actually paying for:
What the film shows
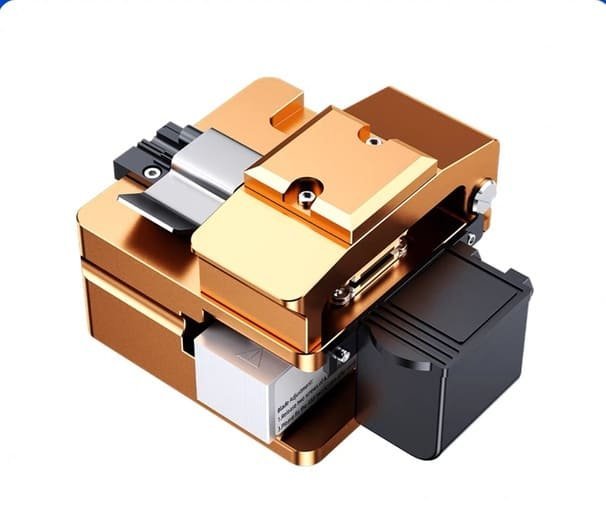
- CNC machining of the cleaver bodies. The aluminum bodies of models such as the K-35 one-step cleaver are CNC-machined, which keeps the fiber groove, blade seat and lid geometry consistent from unit to unit — and consistency is what makes cleave angles repeatable.
- Parts prepared in batches. Trays of machined components wait for assembly, each batch belonging to a single model run.
- Hand assembly. Blades, springs and fiber holders are fitted by hand; the action of the lid and the blade carriage is checked as each unit comes together.
- Finished-body inspection. Completed cleaver bodies are examined before the tools are packed — surface, fit and movement all get a final look.
How cleave quality is judged
A good cleave is flat, smooth and perpendicular to the fiber axis. Three defects ruin it: an angle (the end face tilts away from 90°), chips (fragments missing at the edge) and a lip (a raised rim left by a worn blade). In production and QC, cleave quality is checked by cleaving test fibers and inspecting the end faces under magnification, and by measuring the cleave angle — our K-35, for example, is rated at a cleave angle of ≤0.5° with a blade life of 48,000+ cleaves.
In the field, your fusion splicer reports an estimated cleave angle for every joint. If angles start creeping up across many splices, the cause is almost never the splicer — it is the blade. Rotating the blade to a fresh numbered position is the first fix; when all positions are used, fit a replacement cleaver blade rather than replacing the whole tool.
Why we are showing this
Most tool listings ask buyers to trust a render and a specification table. We would rather show the machining, the assembly and the inspection behind the tools we sell — the same tools supplied to FTTH construction teams, ISPs and distributors, from the K-35 and K-21 cleavers to the SD-6A fusion splicer.
Questions about a model, or factory pricing (EXW) for your market? Send us an inquiry — we reply with pricing, MOQ and lead time.