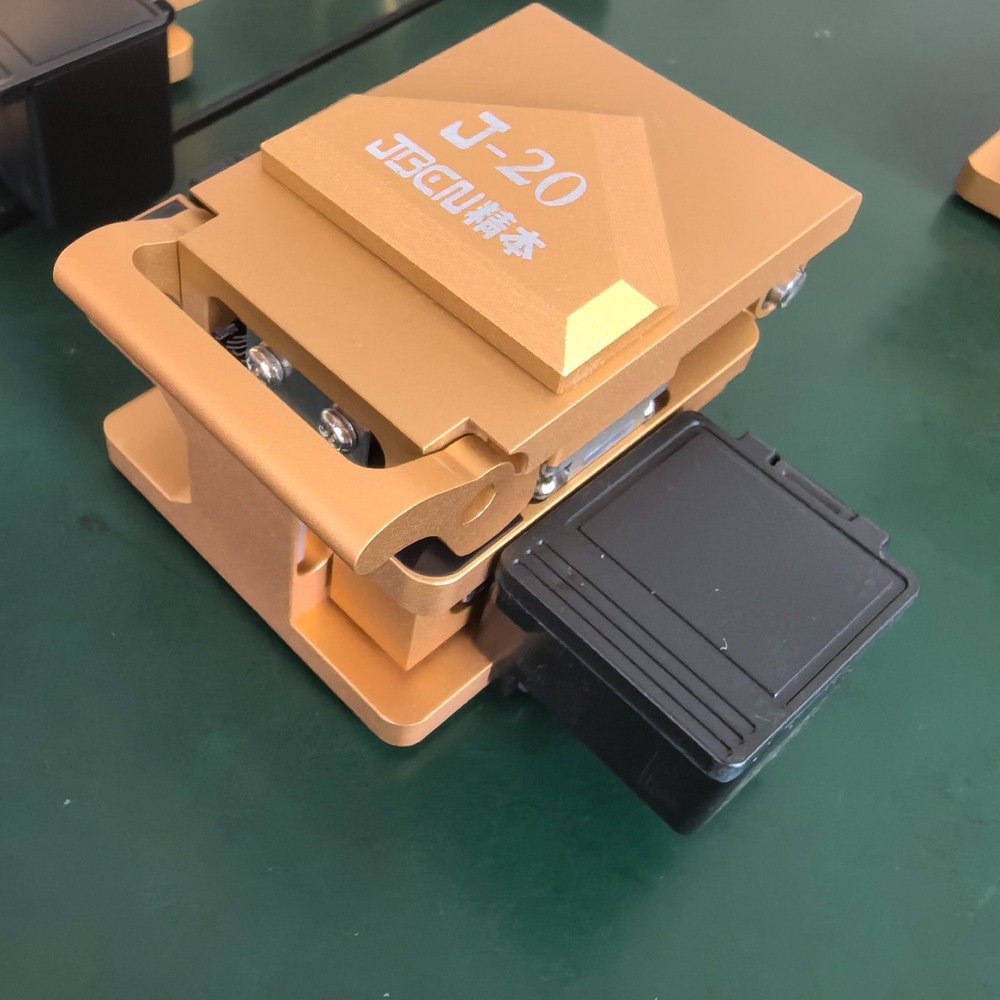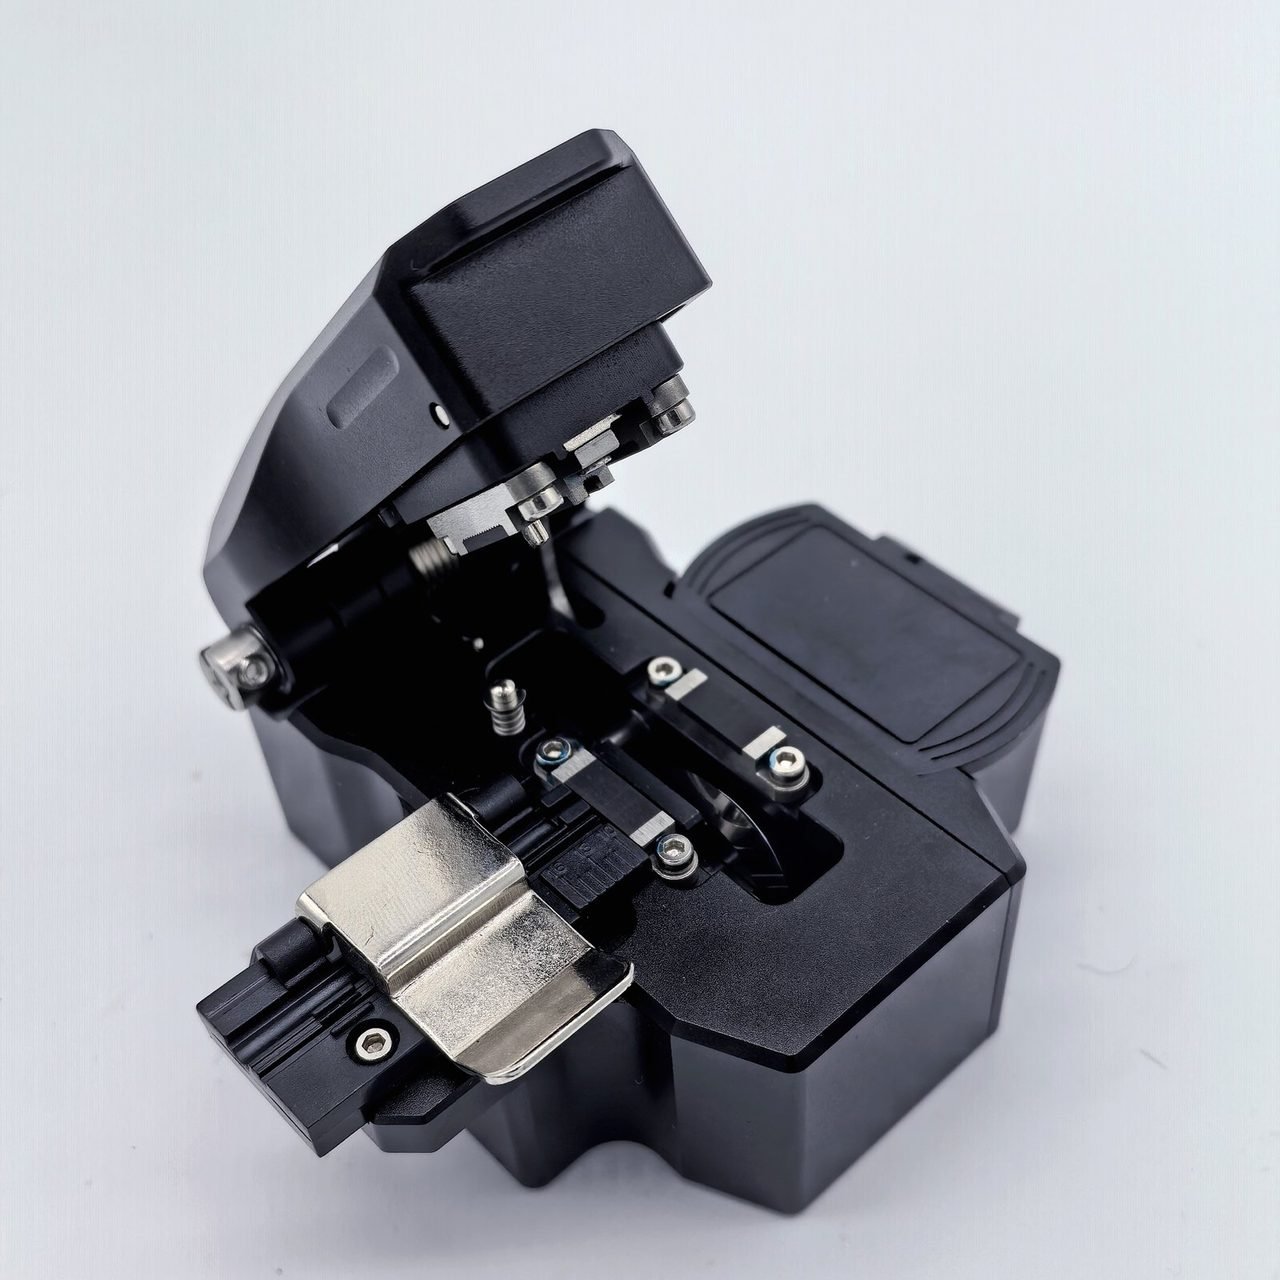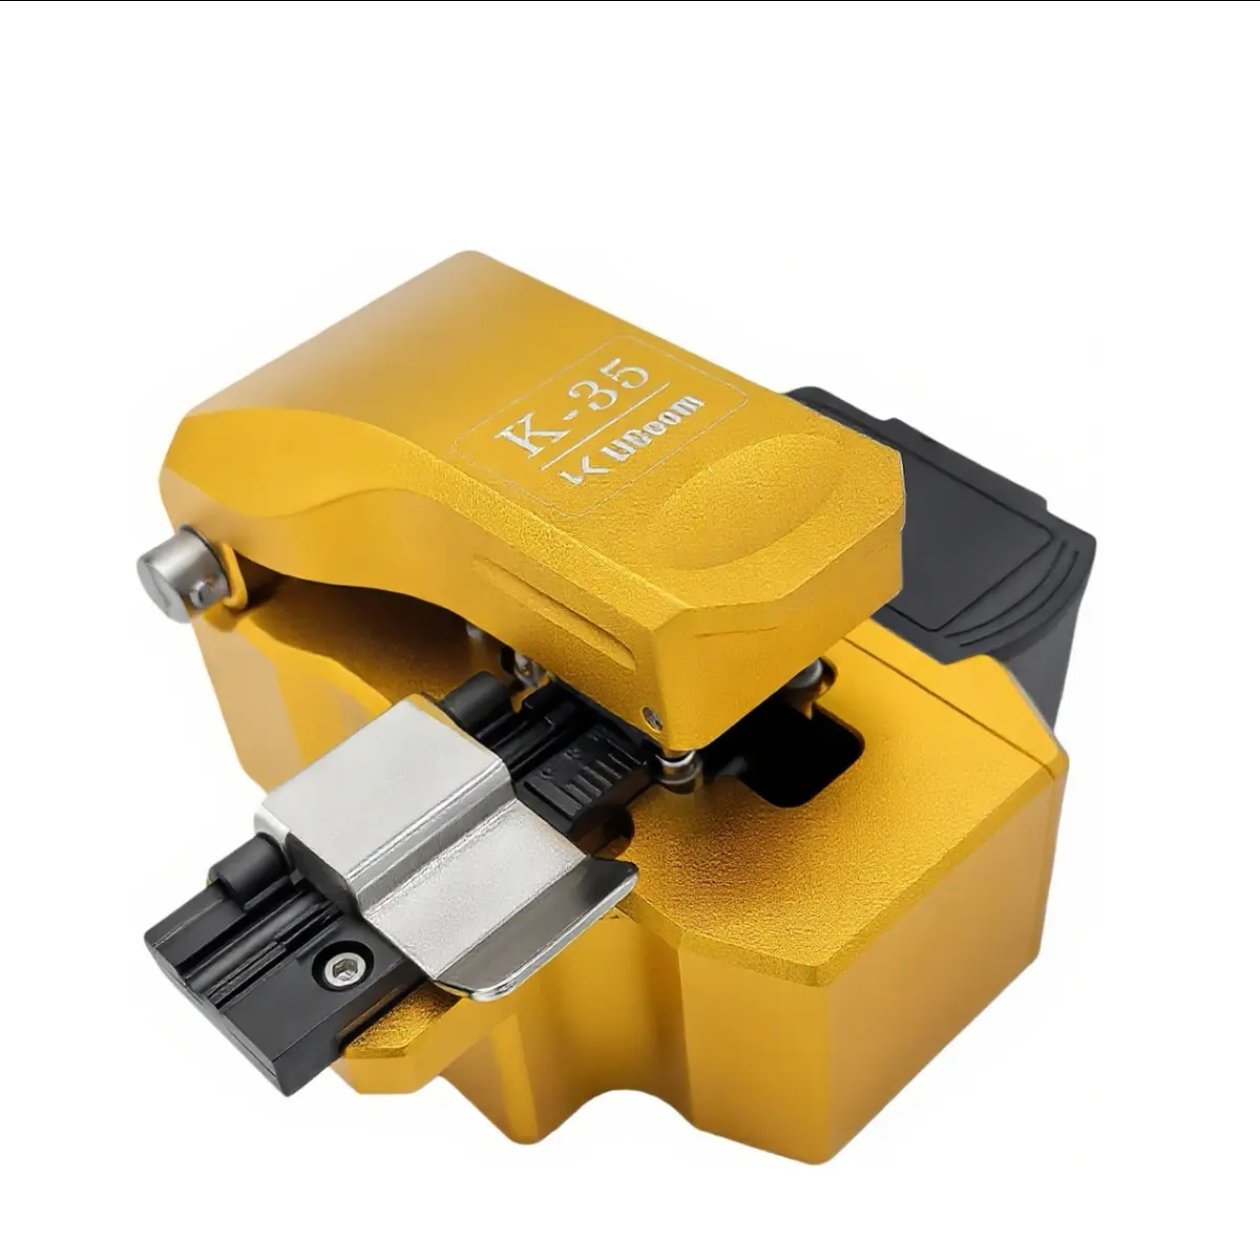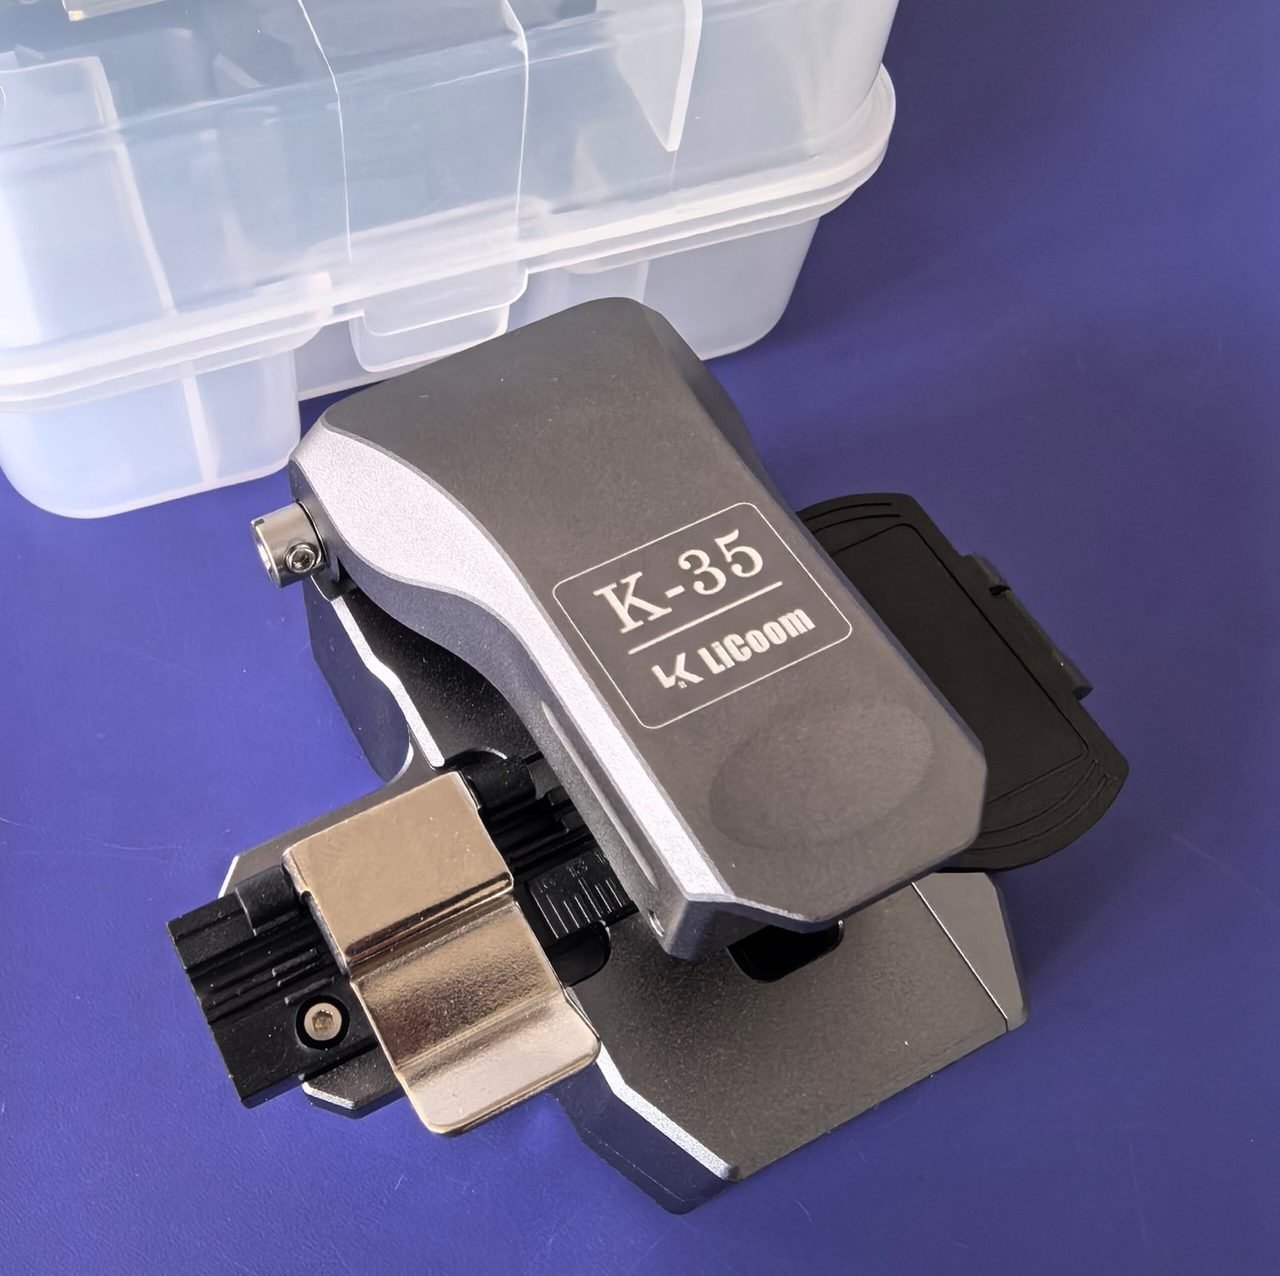
A fiber cleaver only works as well as its blade. When the cutting edge dulls or chips, cleaves turn rough, splices fail more often, and a job that should take minutes starts eating into the day. Replacing the blade is a routine maintenance task, not a repair — and done carefully, it takes only a few minutes and restores the cleaver to clean, reliable cuts.
The steps below describe the general process for a typical bench-type fiber cleaver. Details such as screw positions and blade fixings differ between models, so always check your own cleaver's manual first and follow it where it differs from this general guide.
Signs It Is Time for a New Blade
The clearest sign is cleave quality itself. If end faces that used to come out flat and clean start showing lips, chips, or angled breaks, the blade edge is the first suspect. A rise in failed splices or in fibers that need re-cleaving before they will splice points the same way.
It is also worth inspecting the blade itself. Look at the cutting edge under good light, and check for visible nicks or a dulled line along the edge. Some cleavers let the operator rotate the blade to a fresh section of edge instead of replacing it outright; if your model works that way, rotating to an unused section can restore performance without a new blade. Once every usable section is worn, replacement is the next step.
Do not keep working with a suspect blade in the hope that it improves. A poor cleave wastes more time in rework and failed splices than a blade change ever will, and a damaged end face can also cause trouble at the splice or connector that follows.
Replacing the Blade, Step by Step
Start with a clean, flat workspace and good light. Put on safety glasses, and keep the work area free of loose fiber offcuts. Lay out the new blade, the small screwdriver or tool your cleaver needs, and a lint-free cloth before you open anything up.
Open the cleaver cover and remove the blade fixings, keeping the small screws somewhere they cannot roll away. Note how the old blade sits before you lift it out: its orientation and position matter, and the new blade must go back in exactly the same way. Never touch the cutting edge itself with bare fingers — skin oils and accidental contact can damage the edge before it has cut a single fiber.
Fit the new blade, refit the fixings, and close the cover. Handle the old blade with care: wrap it or place it in a sharps container rather than leaving it loose in a kit bag or bin, where it can cut fingers or damage other tools. Then test the cleaver on a scrap fiber. A good test cleave should look flat and clean, with no visible lip or hackle at the end face. If the first test cleaves still look poor, recheck the blade seating and orientation before assuming anything else is wrong.
Getting More Life from the Next Blade
Most blade wear comes from everyday handling rather than from cutting itself. Keep the cleaver clean and dry, close the cover when the tool is not in use, and store it where it will not be knocked around in the van or kit bag. Clean the blade area as the manual directs, and avoid touching the edge during cleaning.
Use the cleaver only for the fiber it is made for, and do not force a cut when something feels wrong — a jammed or misloaded fiber can damage the edge in a single stroke. Finally, keep a spare blade in the kit. A blade change in the workshop is a five-minute job; a blade change that has to wait until the next supply order is a day of poor cleaves.
Looking for replacement blades or a new cleaver for your crew? See our fiber cleaver blades, or request a quote on the product page. You can also email us at silvia@licoom.com — EXW factory pricing on request, with volume pricing available.